How to Apply Polyurethane Paint for Floors: The Step-by-Step Guide
Are you looking to finish your flooring project with polyurethane? Applying polyurethane is a great way to protect your floors and give them a beautiful shine because it is durable and will last for years with proper care. In this step-by-step guide, we will walk you through the process of applying polyurethane paint to floors. We will cover everything from preparing the surface to finishing the job. So, whether you are a beginner or a pro, this guide has got you covered!
Step 1: Choose the Type of Polyurethane
There are two types of polyurethane that you can use for your floors: oil-based and water-based. Both types have their own advantages and disadvantages.
Oil-based polyurethane is more durable than water-based polyurethane, but it is also more difficult to apply because it has a longer drying time. Water-based polyurethane dries quickly and is easier to apply, but it is not as durable as oil-based polyurethane.
Step 2: Make Sure You Have a Well-Ventilated Working Area
When you are applying polyurethane, it is important to work in a well-ventilated area because the fumes can be harmful. For example, the fumes from polyurethane can be dangerous if inhaled, and they can also cause skin and eye irritation. If possible, open all of the windows and doors in the room to let fresh air in. In addition, always wear a mask and goggles while you’re working.
Step 3: Sanding the Floor
If you’re planning to apply polyurethane to your floor, you’ll need to make sure the surface is properly prepared beforehand. One of the best ways to do this is by sanding the floor. This will create a smooth surface for the polyurethane to adhere to. If you are working with a new floor, you will need to sand it with coarse-grit sandpaper first to rough up the surface. Then, switch to finer-grit sandpaper and sand the floor again. Be sure to sand in the direction of the wood grain and make smooth, even strokes.
Step 4: Vacuum the Floor
After you have sanded your floor, you need to vacuum it to remove all of the dust. One reason to vacuum your floor before applying polyurethane is to remove any dirt or dust that may be on the surface. This will help ensure a smooth, even finish when you apply the polyurethane.
Another reason to vacuum is to remove any loose debris that may get in the way while you’re applying the polyurethane. By removing this debris ahead of time, you’ll avoid having to stop and clean it up later, which could interrupt the flow of your work and cause problems with the finished product.
Step 5: Using Mineral Spirits to Wipe Down the Surface
The next step is to wipe down the surface with mineral spirits. Mineral spirits are a petroleum-based solvent used for cleaning oil-based paints and stains. When applied to a surface before polyurethane, they help to remove any residual contaminants which could impede the adhesion of the finish. In addition, wiping down with mineral spirits helps to ensure that the surface is smooth and free of any dust or debris.
Step 6: Using Masking Tape to Protect Baseboards
Before you start applying polyurethane to your floors, you need to protect your baseboards with masking tape. This will prevent the polyurethane from getting on the baseboards and ruining them.
Step 7: Mix Your Polyurethane Paint
Once you have all of your materials ready, it’s time to mix the polyurethane paint. If you are using oil-based polyurethane, you will need to use a paint stirrer to mix it. For water-based polyurethane, you can just shake it up.
There are a few things to keep in mind when mixing your polyurethane before applying it. First, be sure to mix it thoroughly so that all of the ingredients are evenly distributed. Secondly, be sure to use a clean container and mixer so that there is no contamination. Lastly, make sure to follow the manufacturer’s instructions carefully in order to get the best results. Once the polyurethane is mixed, you’re ready to start applying it!
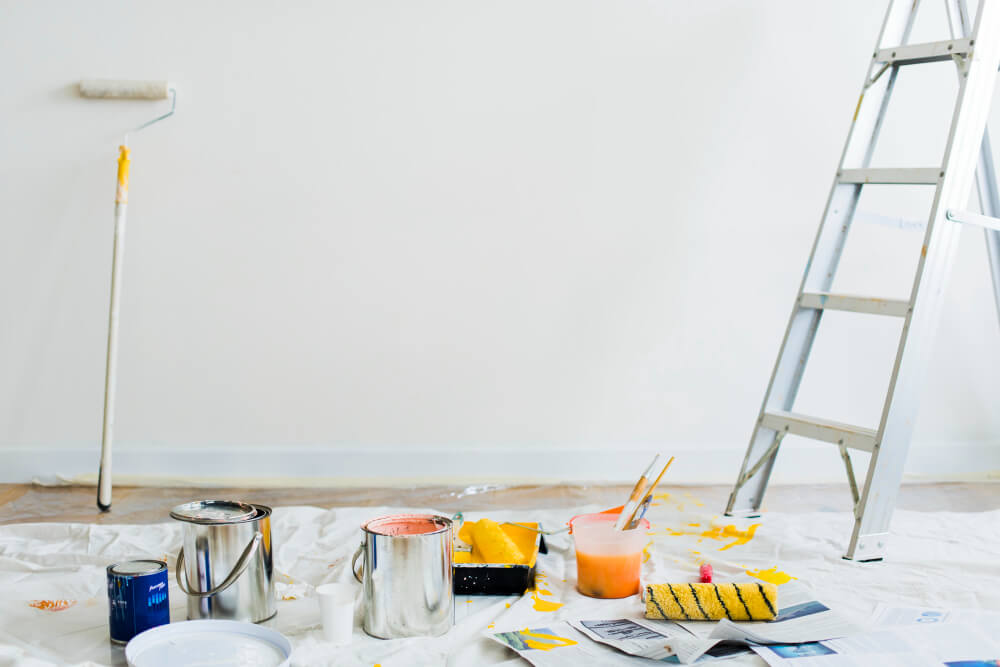
Step 8: Applying the Polyurethane Paint
Now that the polyurethane paint is mixed and your floor is prepared, you’re ready to start applying it! For best results, you will need to use a brush, roller, or even lambswool applicator. Begin by applying the polyurethane to the corners and edges of the room, and then work your way inwards. Make sure to evenly coat the surface, overlap each stroke so that you don’t miss any spots, and avoid leaving any puddles or streaks.
Step 9: Apply the Second and Third coat
It’s generally recommended that you wait 4 hours between coats of polyurethane, this is to make sure that you allow sufficient time for the previous coat to dry completely.
Once the previous coat has dried completely, you can begin applying the second and third coats. Make sure to use even strokes and apply a light amount of pressure – you don’t want to apply too much pressure or it will create visible streaks. For best results, sand lightly with fine-grit sandpaper in between each coat. This will create a smooth, even surface.
Step 10: Use Abrasive Pad to Even Out the Surface
If you notice any uneven spots after the third coat of polyurethane has dried, you can use an abrasive pad like coarse sandpaper or steel wool to even out the surface to ensure that your finished surface has an attractive sheen.
Step 11: Recoat the Finish and Let it Dry for 24 Hours
After you have applied the polyurethane and let it dry for 24 hours, you can recoat the finish. This will give your floors an extra layer of protection. Let the recoated finish dry for another 24 hours before walking on it.
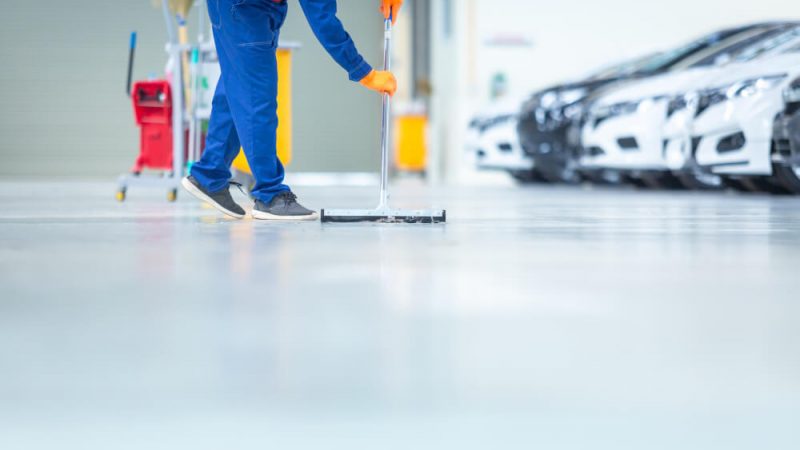
Step 12: Clean the Floor
Once the polyurethane has completely dried, you can clean your floors with a mild detergent. Be sure to vacuum or sweep regularly to keep your floors looking their best!
Summary
Now that you know how to apply polyurethane paint for floors, you can protect your investment and keep your floors looking like new. With proper care and maintenance, polyurethane paint will last for many years to come. Thanks for reading! I hope this guide was helpful. If you have any questions, feel free to leave a comment below. Happy polishing!
Read More: Letsgather